Printing tools provide options to generate output in the form of a hardcopy print or to save and upload a PDF. Output can be created using Forms or using the Print button on the Main Menu.
The Print button on the Main Menu is used primarily to generate map output, such as Site Plans or other maps. When generating Site Plans, the Print menu provides an option to ‘Create Site Plan’, which adds Soil Boring information to the second page of the output.
Where available, the Site Plan will also include the Parcel Number, Owner Name and Parcel Address for the site. Follow the steps below to create a Site Plan.
1. From the Main Menu select the ‘Activate Printing Mode’ button. This will open the Printing menu options.

Below is an overview of the Print options.

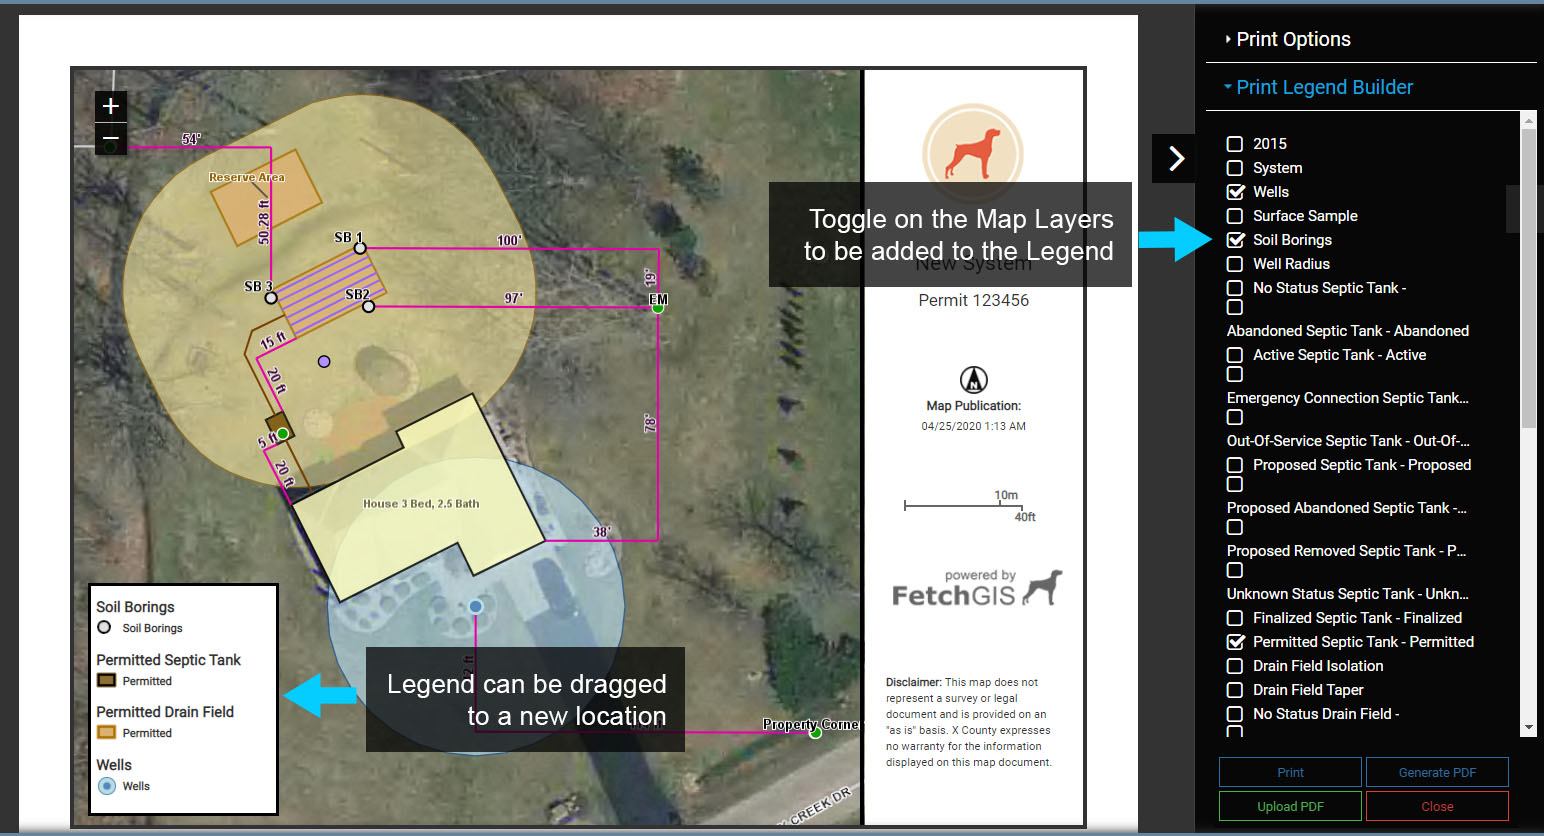
2. Select the ‘Print Legend Builder to add a Legend to the Map. Toggle on Map Layers that will be added to the Legend and the Legend will automatically be constructed on the map. Note that the Legend can be moved to a new location by dragging it with the cursor.
Creating Output #
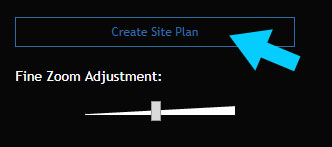
3. The default option for Printing is a standard map. To add additional formatting features and Soil Borings to the output select the ‘Create Site Plan’ option.
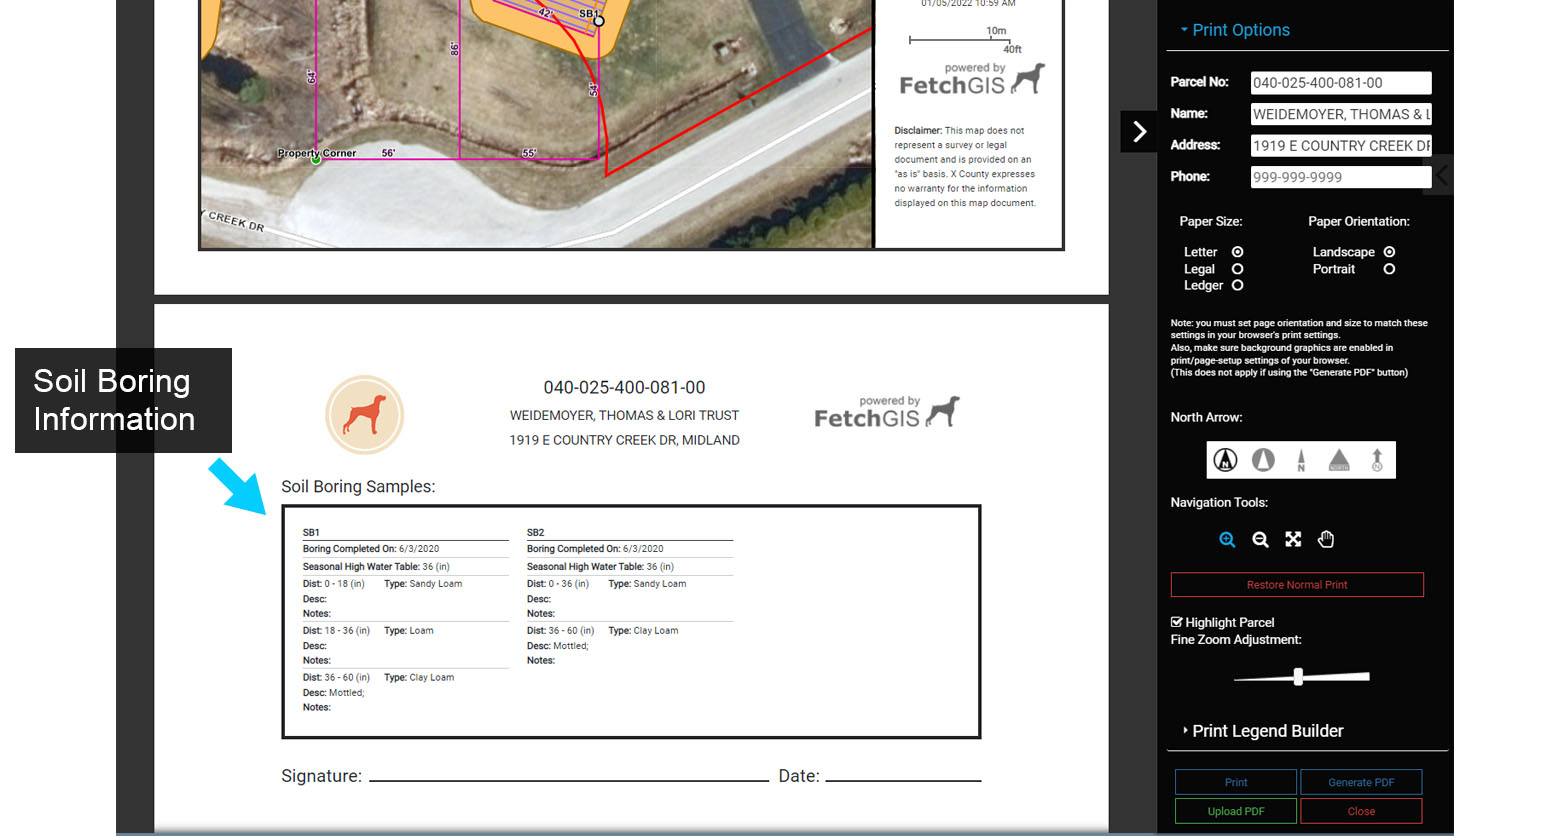
4. When available, the Site Plan will be auto populated with the Parcel Number, Owner Name and Parcel Address. Each of these can be manually entered or modified using the text entry boxes in the Print Options menu located in the side pane.
Note that a Site Plan PDF or print is two (2) pages, with the second page containing the Soil Boring information.
Soil Borings will only be added to the Site Plan if they are visible in the map display. Also note that the map displayed in the Site Plan is interactive, so it can be repositioned if required using Pan or Zoom.
If the site plan does not fit on the paper the ‘Fine Zoom Adjustment’ can be used to improve the fit of the site plan to paper.