This tutorial will focus on creating paper invoices and demonstrates the best way to get data out of FetchEH and into a Word Document to allow for the best final output.
Bulk Creating #
Use the Report tool to identify all Facilities that Fees will be added to.
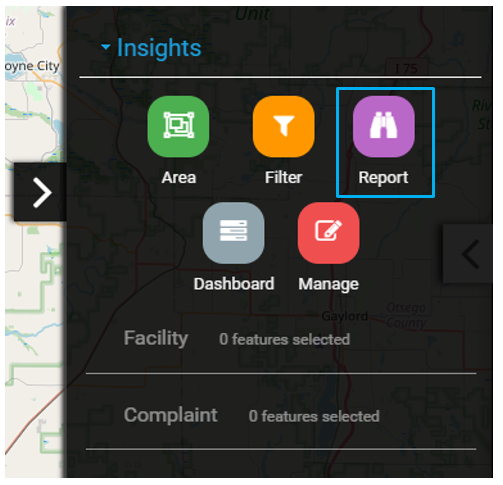
Start by selecting the Insight option on the Main Menu.

From the Side Menu, select the Report tool.
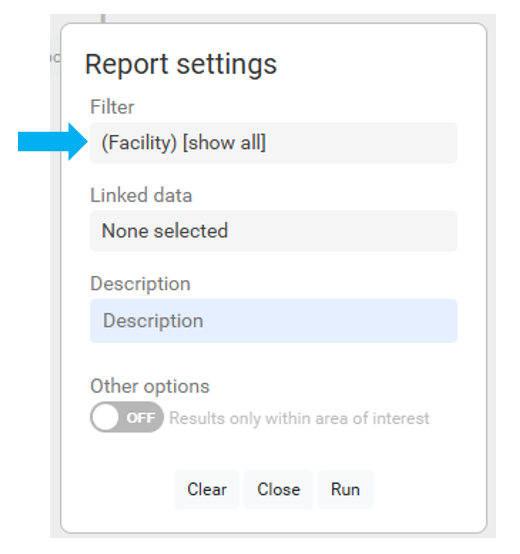
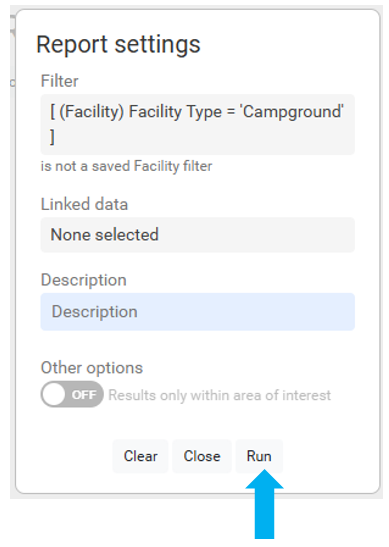
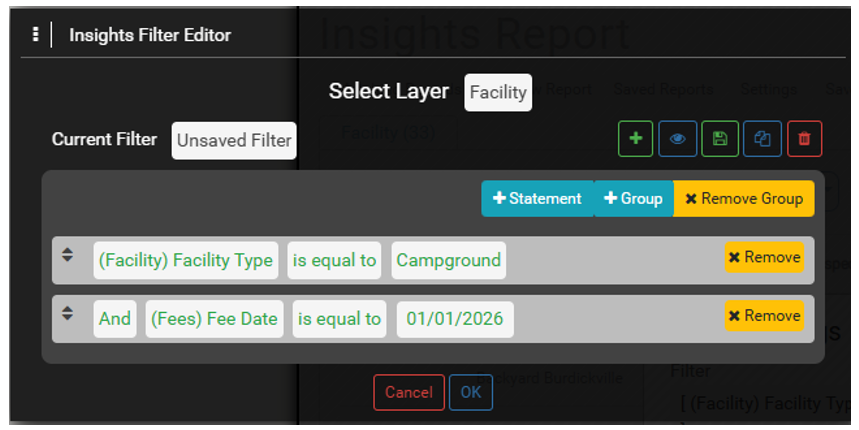
Select the Filter field to create a new Filter
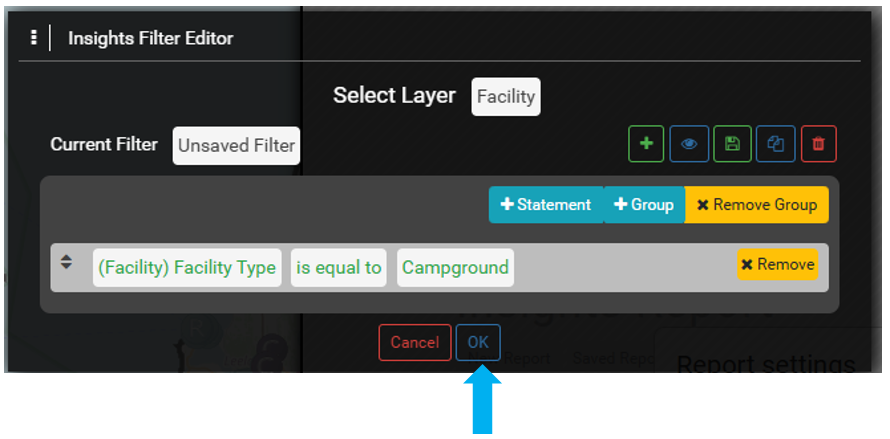
Create a Report to show all active Campgrounds and select OK to proceed.
Note the Facility Type can be Restaurants, Body Art, etc.
Select the Run button to run the Report.
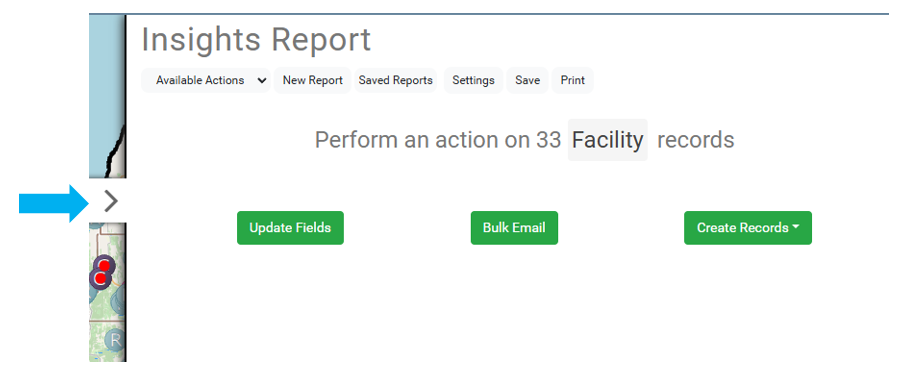
Select the Current View menu and then Available Actions from the dropdown.
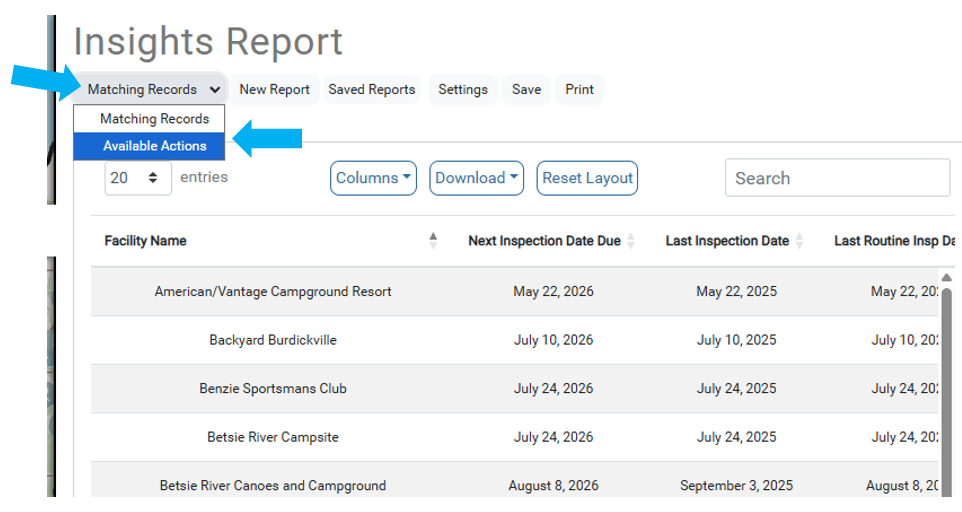
Select the Create Records menu and then Fees from the dropdown.
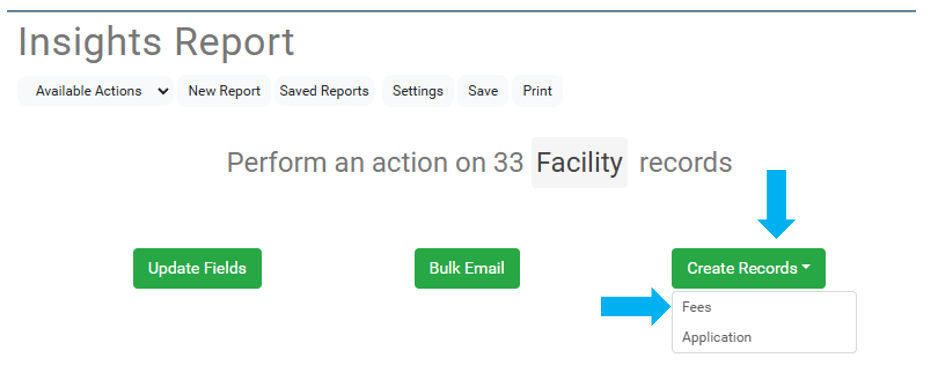
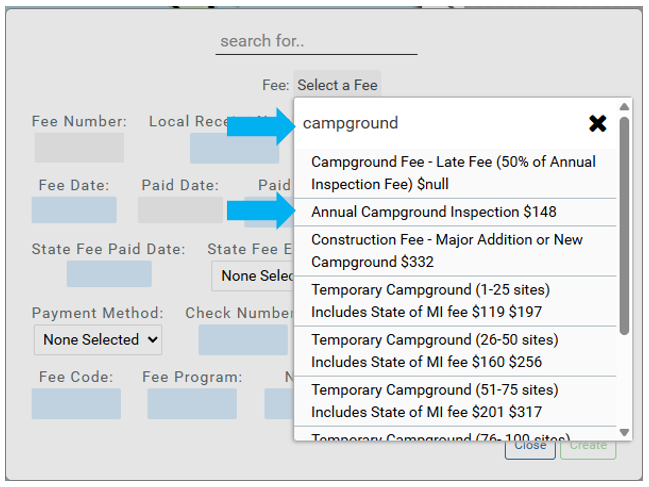
In the Fee table, choose the Select a Fee button.
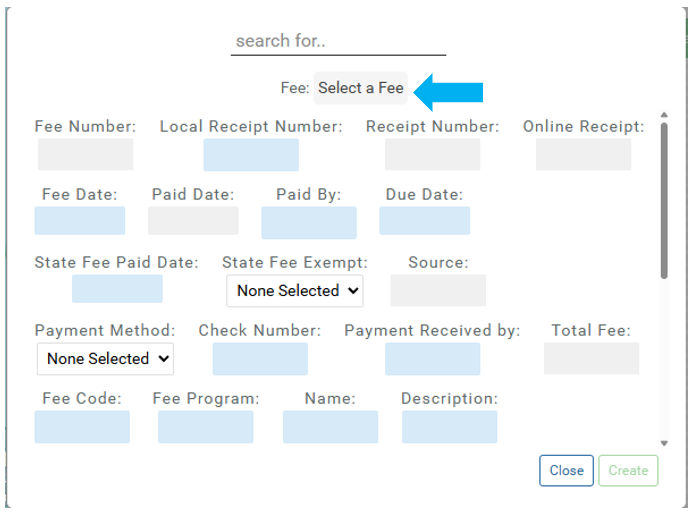
Choose a Fee from the list to be assigned to the records in the Report.
Use the search bar to narrow the options.
The selected Fee will appear in the menu.
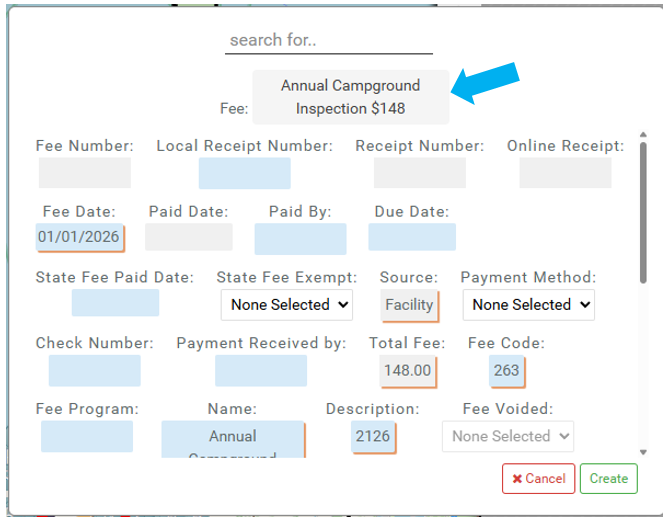
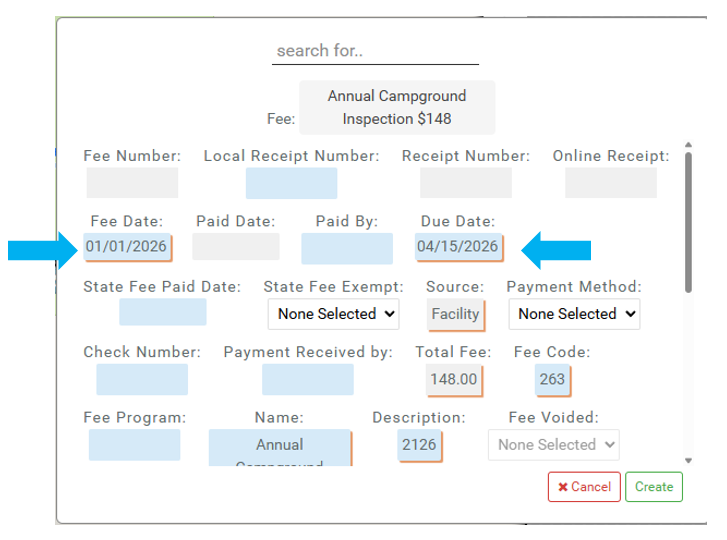
Enter a Fee Date and a Due Date.
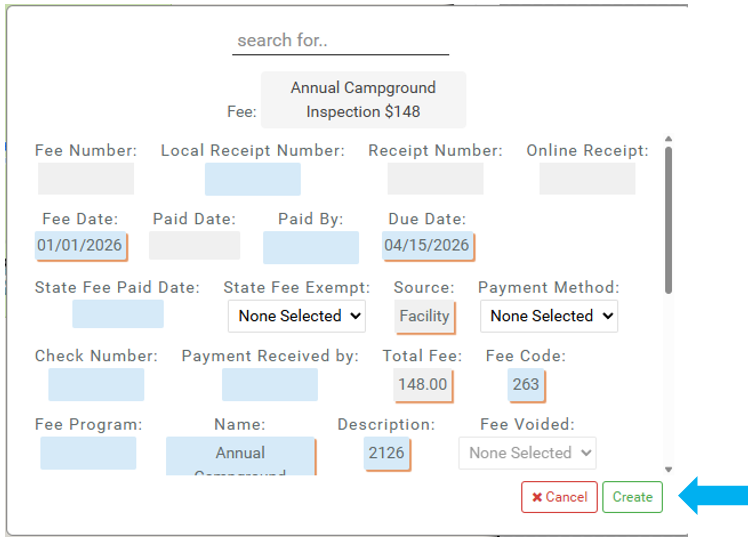
Select Create to add the Fee to all Campground records in the Report.
Minimize the Report by selecting the arrow on the left side.
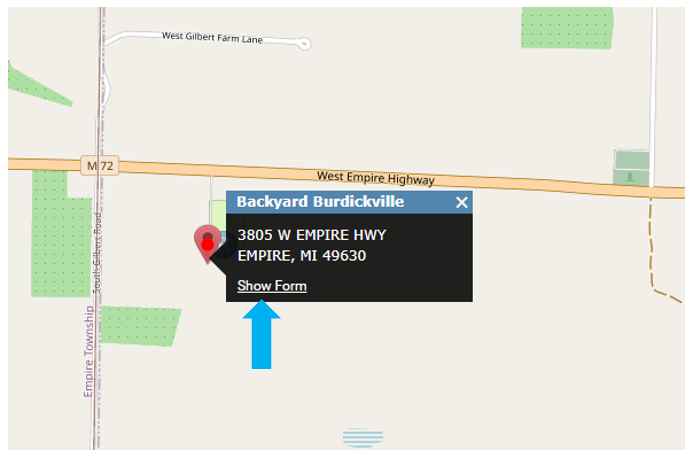
Select a Campground on the map and select Show Form.
Scroll down in the Form to the Fee accordion.
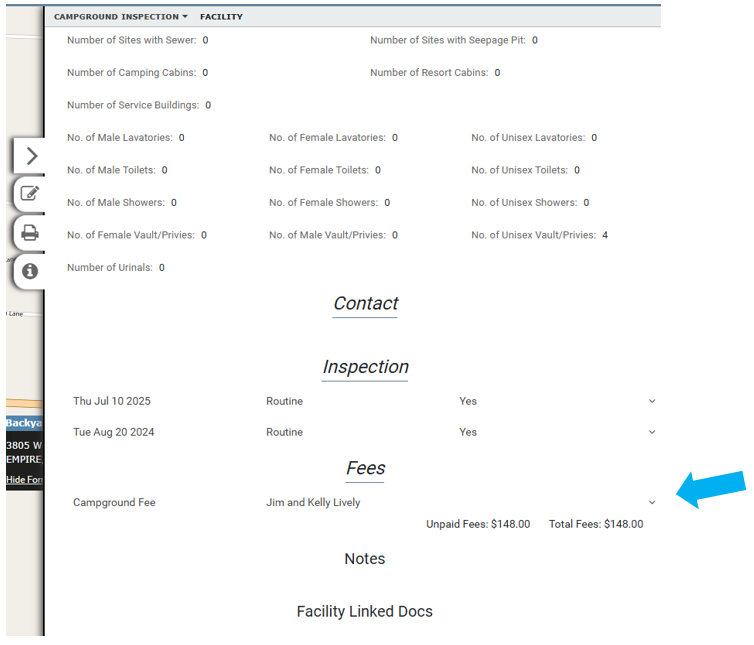
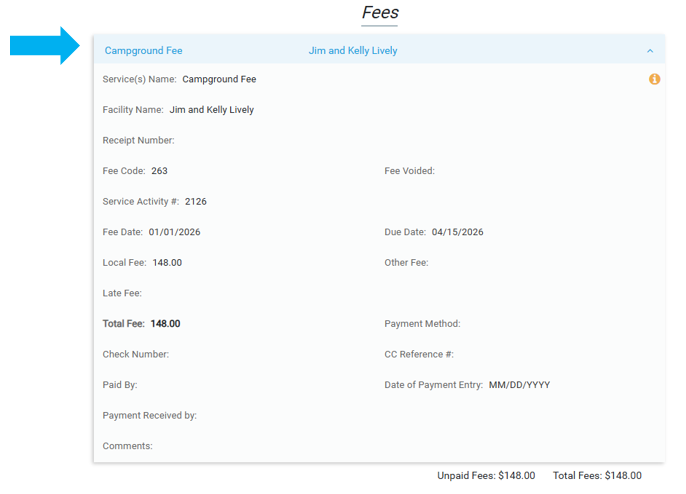
Expand the Fee accordion to view the newly added Fee.
Create Paper Invoices #
Use Report tool to identify all Facilities that require and invoice.
Start by selecting the Insight option on the Main Menu.
Select the Report tool.
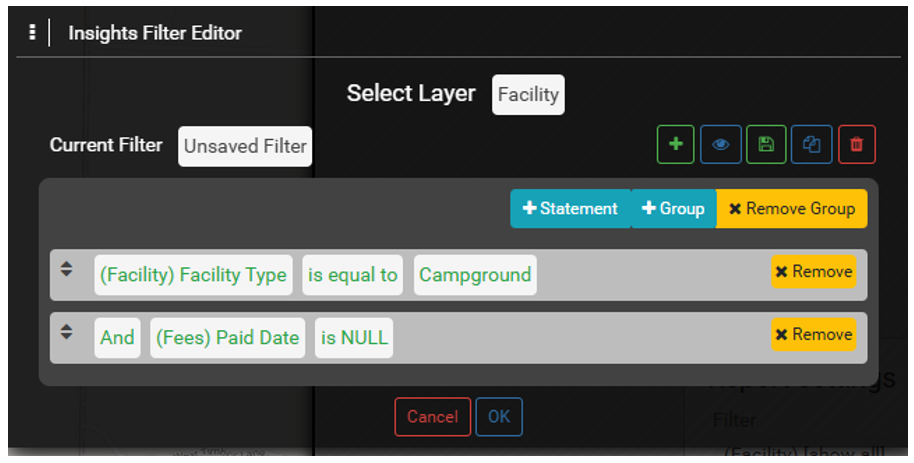
Select the Filter field to create a Filter.
Create a Filter to show all Campgrounds with the new Fee.
The Fee Date is used because we made the that date the same for all the new Fees during the bulk edit.
In many instances, using the Paid Date IS NULL may be useful to find all Fees that have not been paid.
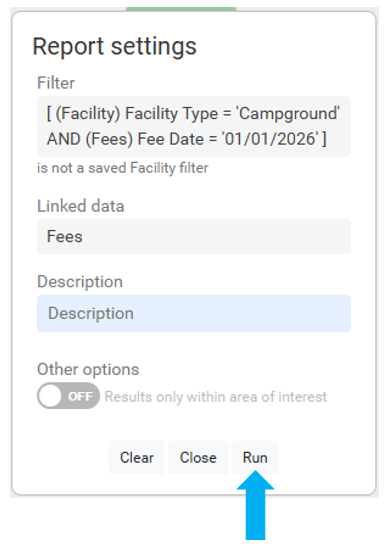
Select the Run Button to run the Report.
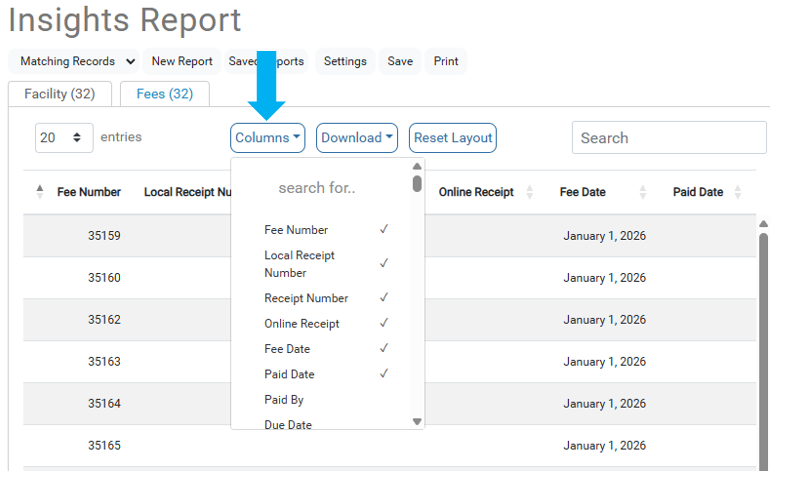
Select the Fee tab from the Matching Results.
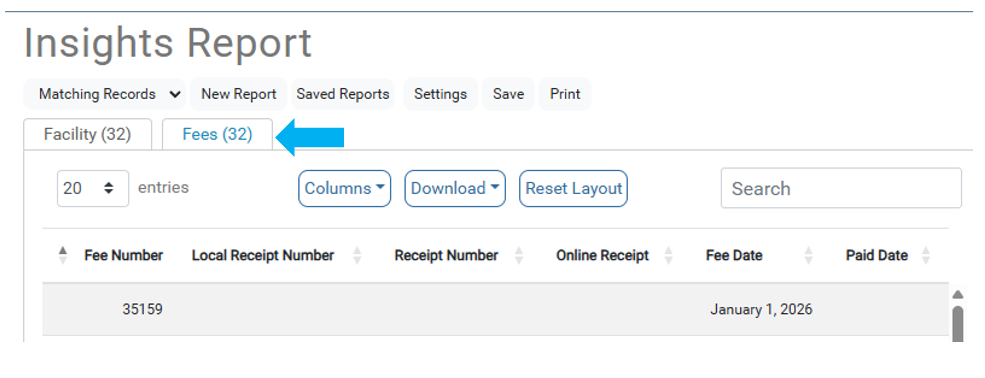
Select the Columns to add to the table and be used to create the Invoice.
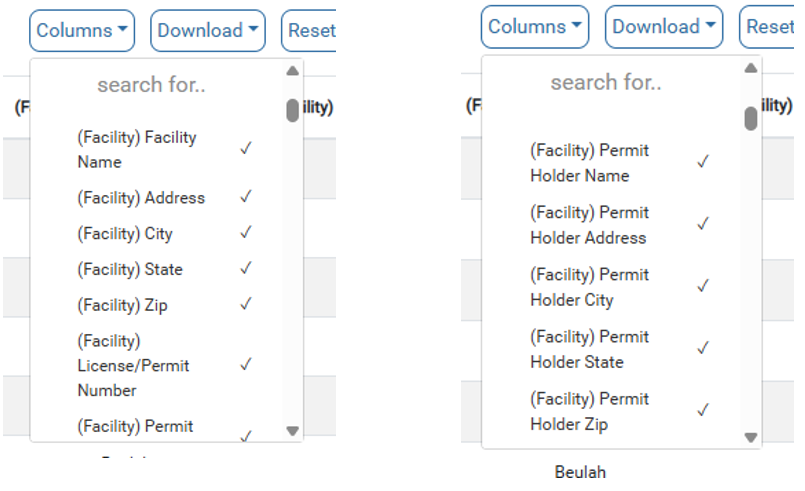
Select the appropriate (Facility) Address fields that will be used to create the Invoice Address in Word.
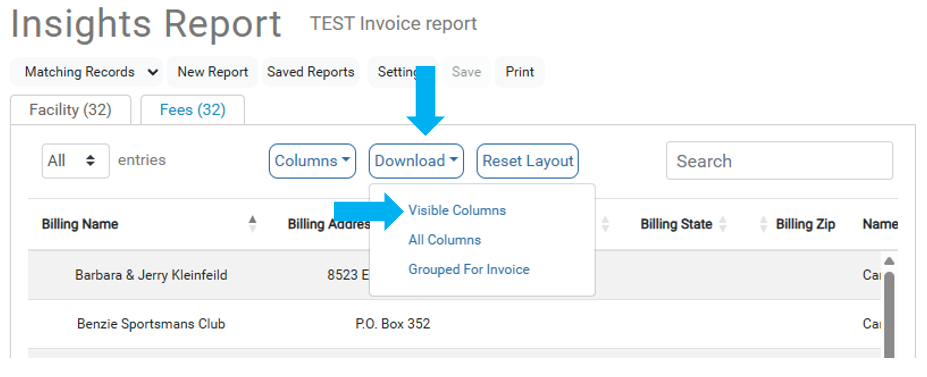
Select Download and then select Visible Columns.
Make sure you have all the Name/Address Columns added to the Report that are needed to create the Invoices.
The CSV file will appear in Downloads folder on your device.
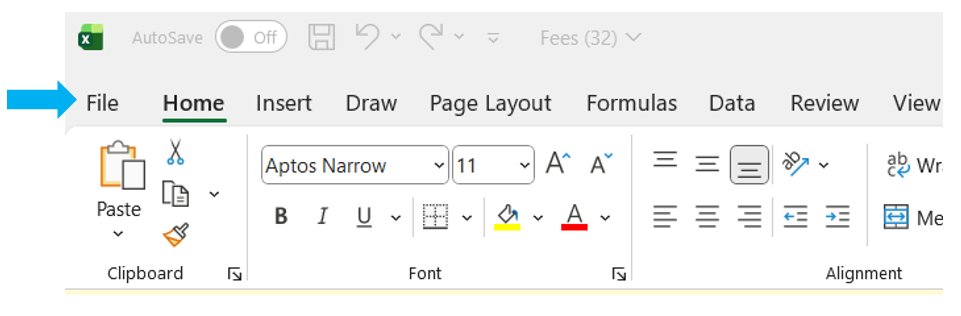
Open the file with Excel.
Select File menu in top left corner
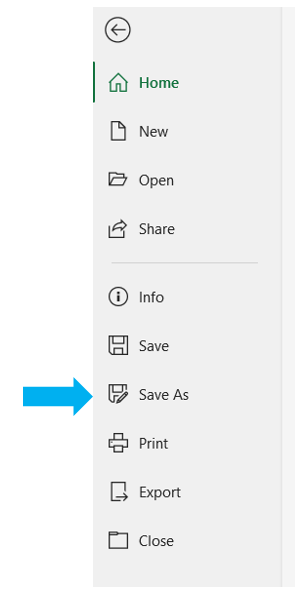
Select Save As from left side panel.
Enter Fees for the File Name, then select Save As and select Excel Workbook.
Keep the file name the same across instances, as this will make the process smoother and Word will find the Excel file easier.
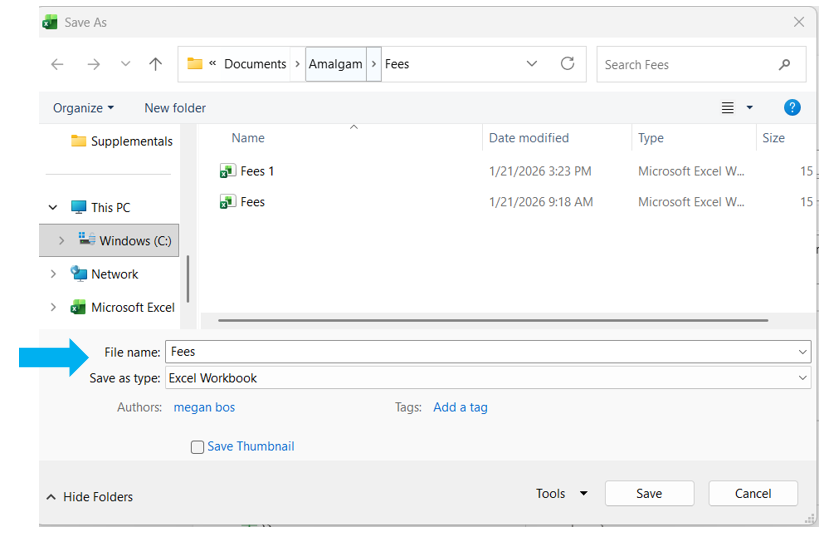
Select Yes on the pop-up message to replace any existing Fee excel files.
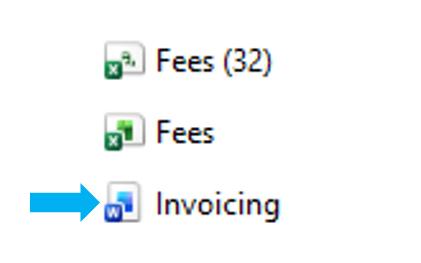
Open Invoicing Word document.
Make sure the Fees (Excel) file and Invoicing (Word) file are in the same Folder.
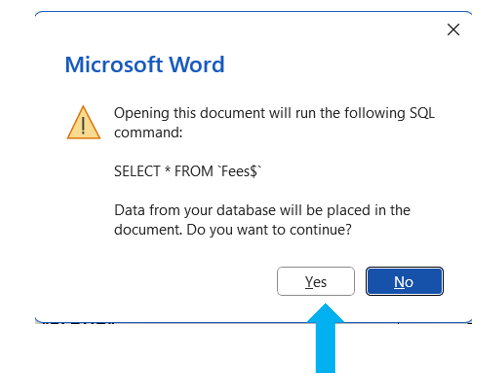
Select Yes on the pop-up message.
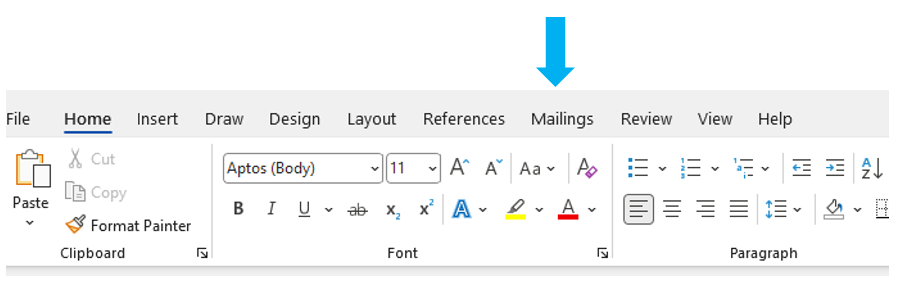
Open Mailings menu by selecting Mailings in the top ribbon.
Review the Invoices.
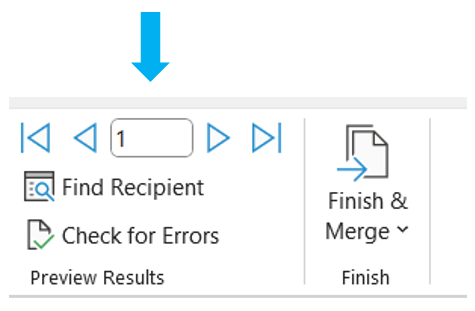
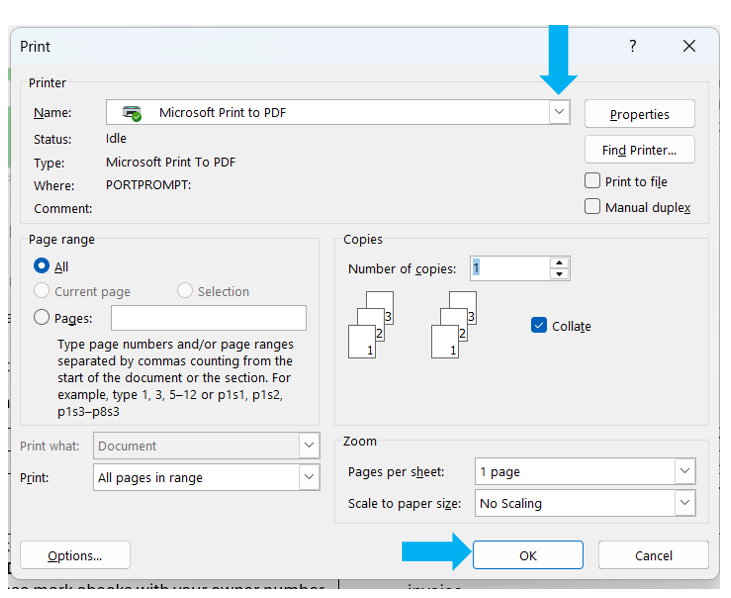
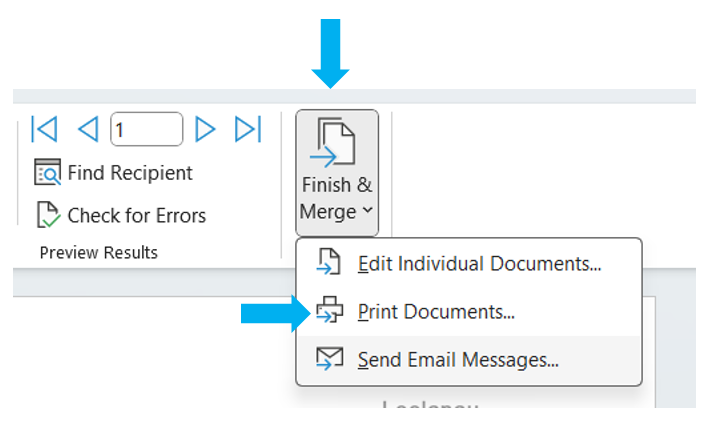
Select Finish & Merge, then select Print Documents.
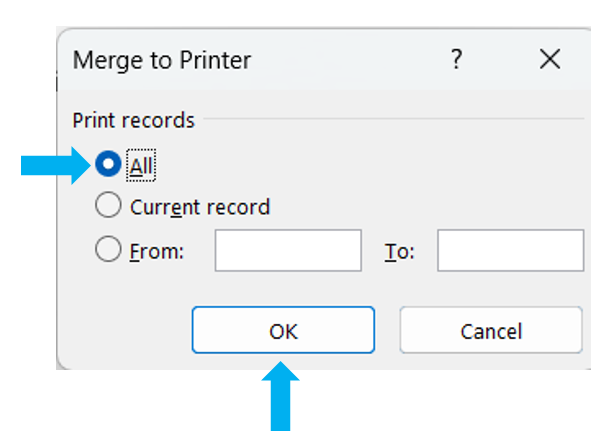
Select All and then the OK button.
Select the Printer and then the OK button.