This tutorial will go over:
- Creating Public Forms
- Initializing Public Access
This tutorial is shown in a FoodEH setting, but will work for EH just the same.
Creating Public Forms #
Create the Form #
Select the Form Designer option on the Main Menu.

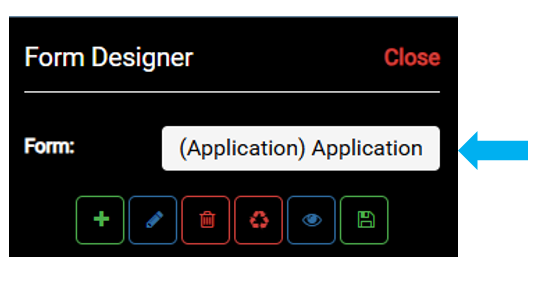
Select within the Form box to view the menu of existing Forms.
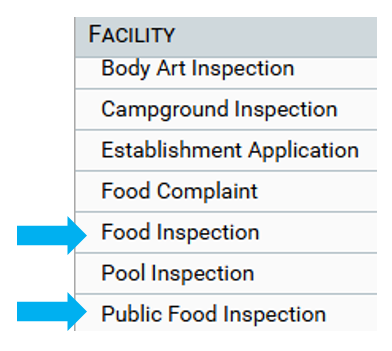
The public access Forms should be set up and named similarly to other existing Forms.
The primary difference in these Forms is that the ‘Public’ version will display less information.
For example, the Food Inspection and Public Food Inspection Form.
‘Public’ should be used as a prefix when naming the Public Forms.
To create a new form, select the Create Form button.
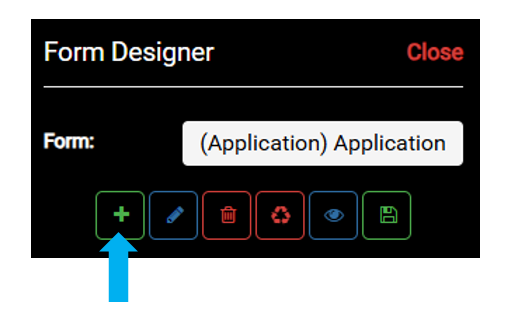
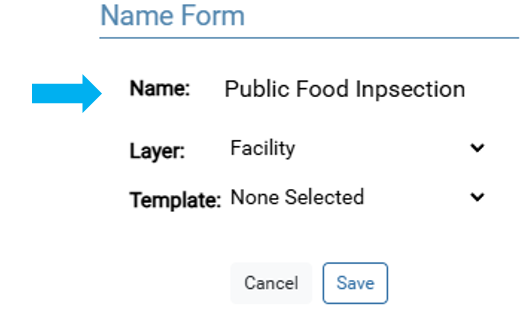
Enter the Name of the new Form.
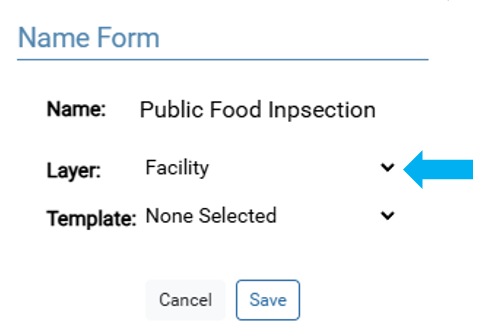
Use the Layer option to select the layer that will be used to create the new Form
Selecting ‘Facility’ below will create the new Form for the Facility layer.
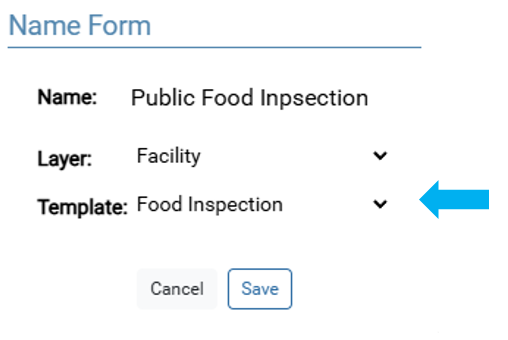
Use the Template option to select an existing Form to use as a starting point
Templates are used to create a Form that is like an existing Form.
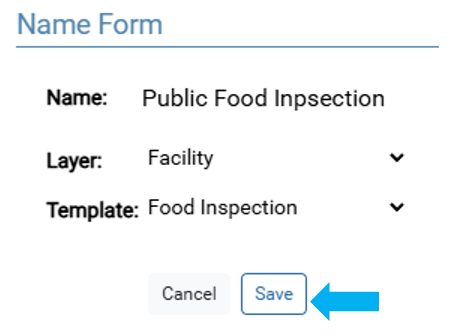
Select the Save button to save the new Form
In this example, a new Public Food Inspection Form will be created using the existing Food Inspection form.
The following two steps are FoodEH specific.
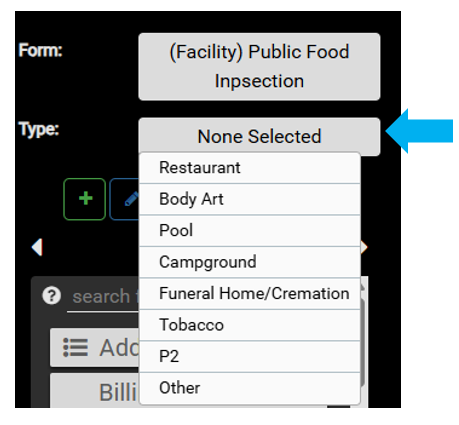
Use the Type menu to select the Facility that the Form will be available for
Note that the Type must be set to work properly.
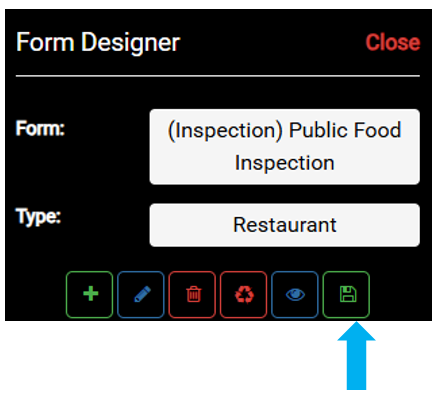
Because the new Form will display Food Inspections the Type is set to ‘Restaurant’.
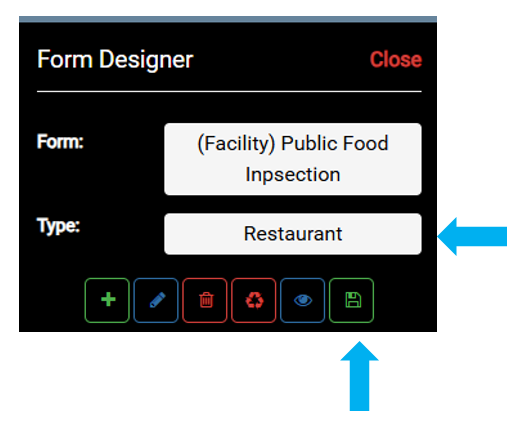
Save the edits to the Form.
Edit the Form #
Forms used for Public Access often display fewer fields.
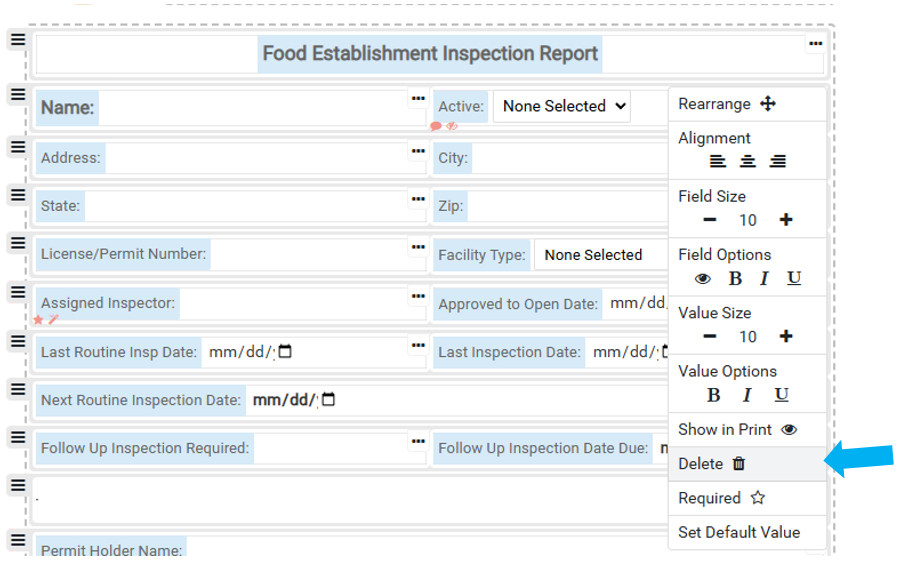
Use the ‘More Options’ menu and the ‘Row Options’ menus to remove Fields and Rows.
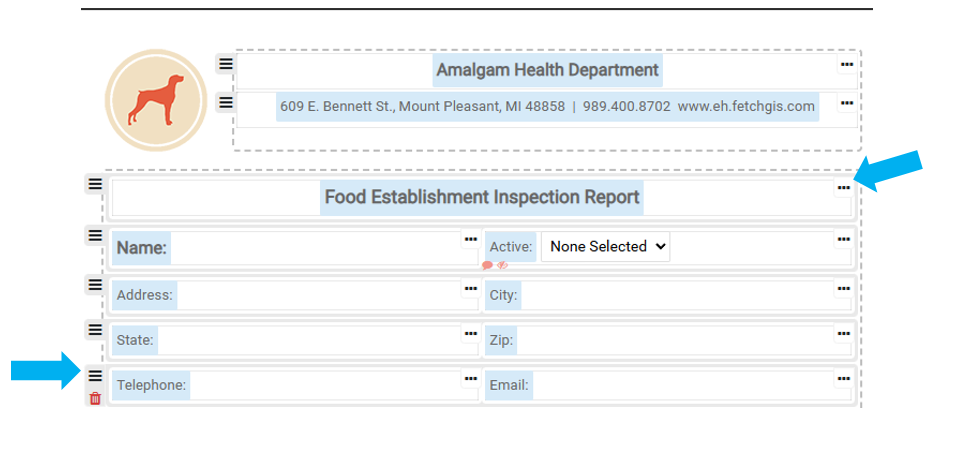
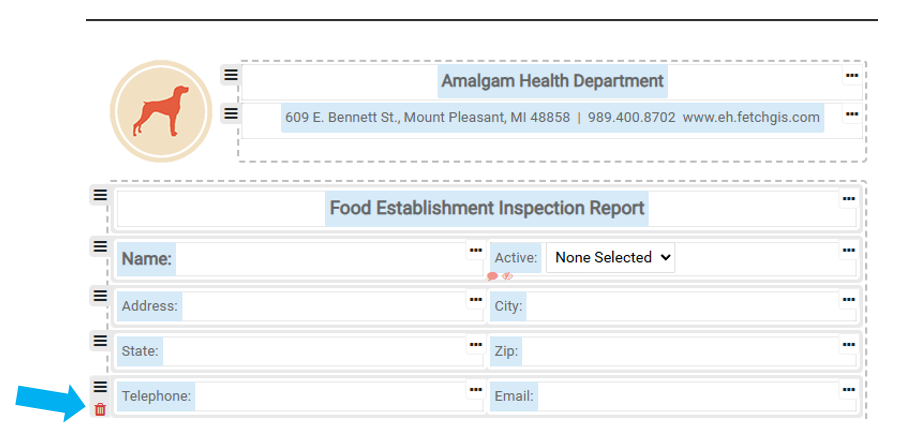
To remove an entire Row, hover over the ‘Row Options’ button and select the Delete button.
To remove a Field, select the ‘More Options’ button and then select Delete.
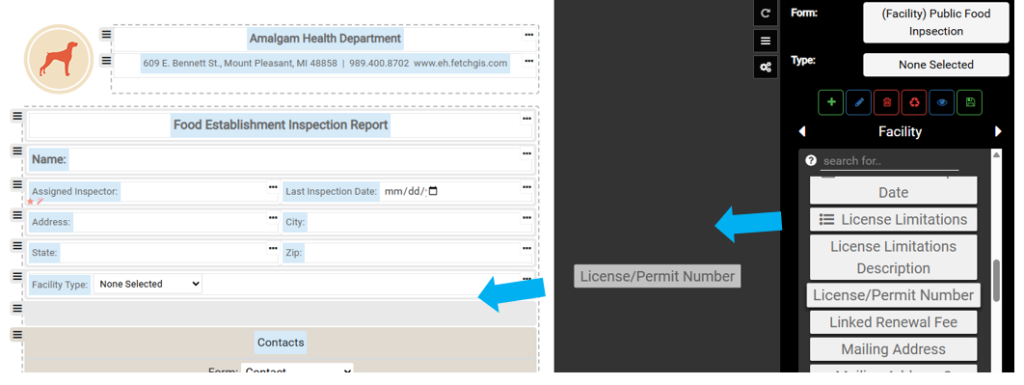
If a new Field is needed, you can add a new Field by selecting it from the menu and dragging it into the Form.
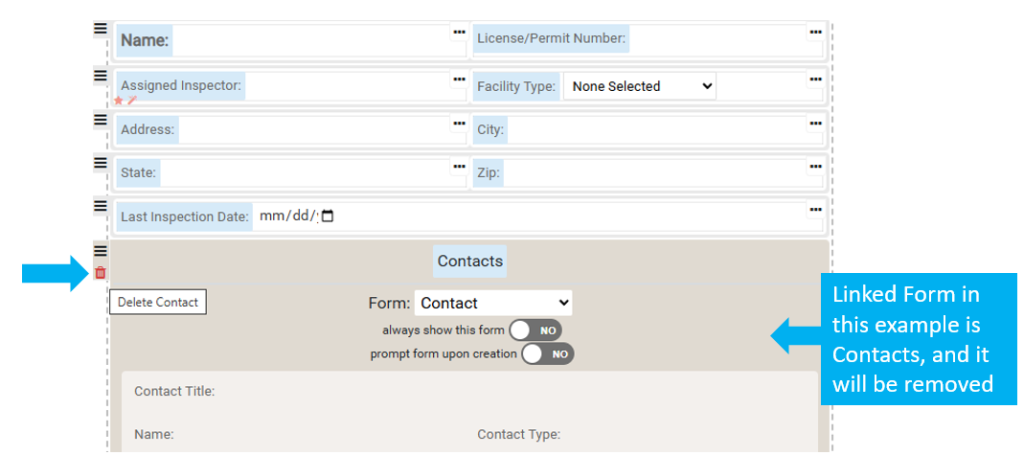
For many Linked Forms, like Contacts, Fees and Complaints, it may be more useful to remove them from ‘Public’ view.
To remove a Linked Form, hover over the icon in the Linked Form and select Delete.
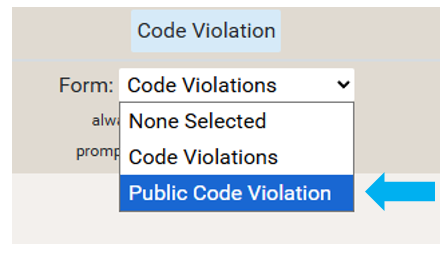
Next, repeat the above steps to create any public linked forms that will be needed. For example, food inspection and violation layers.
Then make sure that the public form is linking correctly to the newly created forms.
Save your edits.
The ‘Public’ Forms are now ready, so the next step involves configuring Public Access.
Configure Public Access #
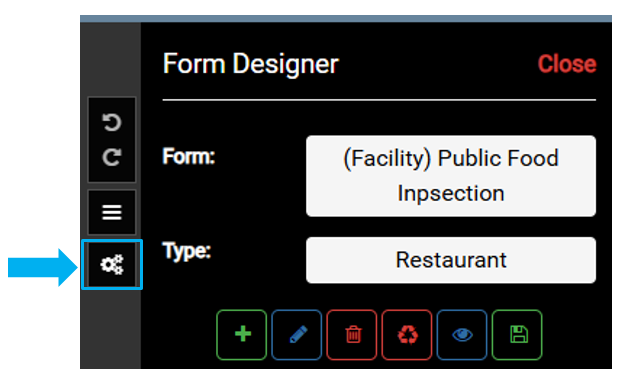
Select the Form Designer option on the Main Menu.

Select the Map Settings button.
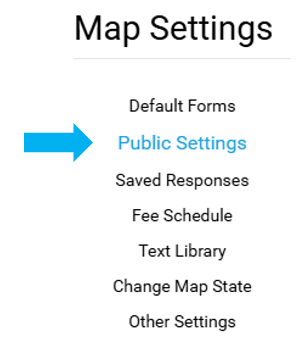
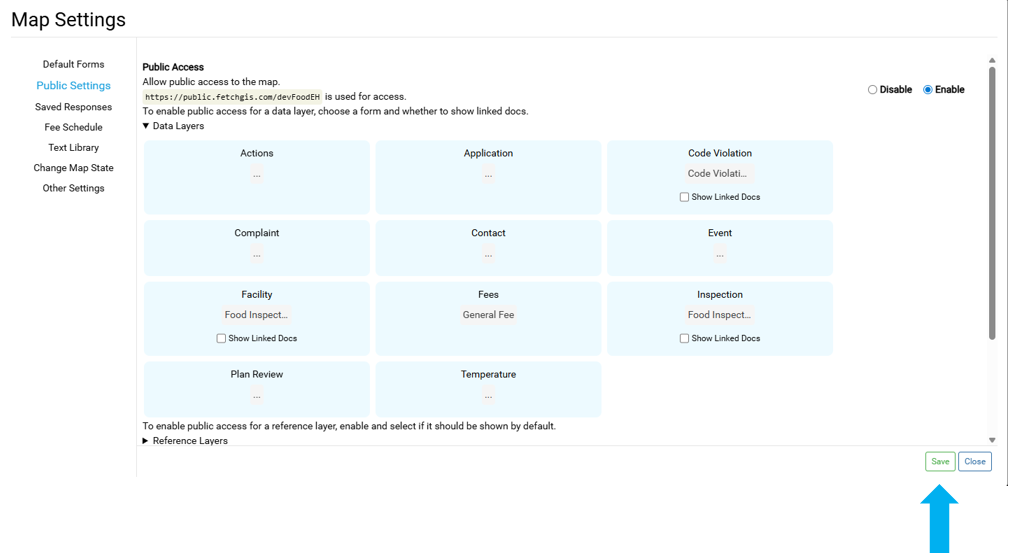
Select Public Settings.
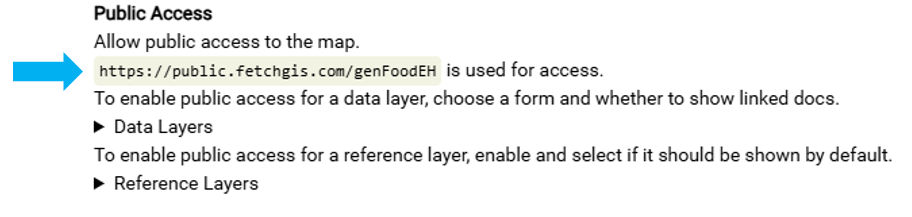
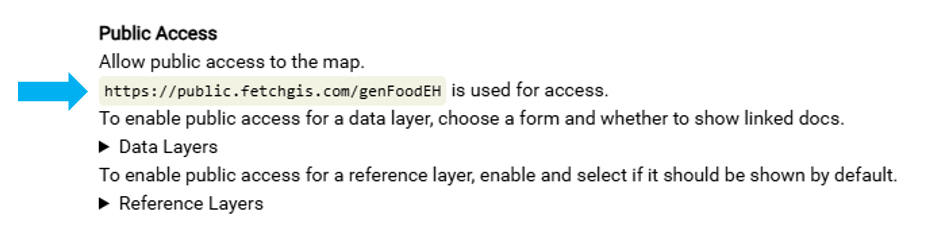
Select Enable option to allow ‘Public Access’ to the map and select Disable to remove access.
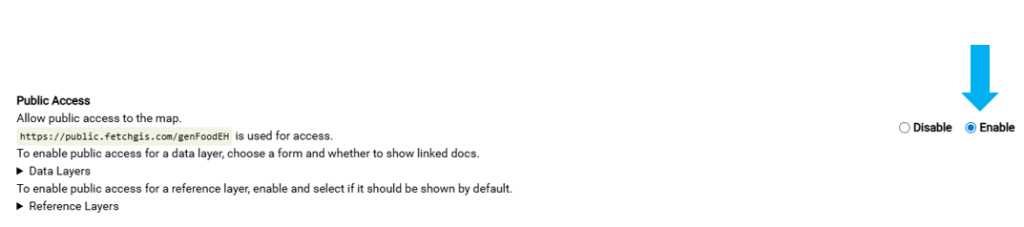
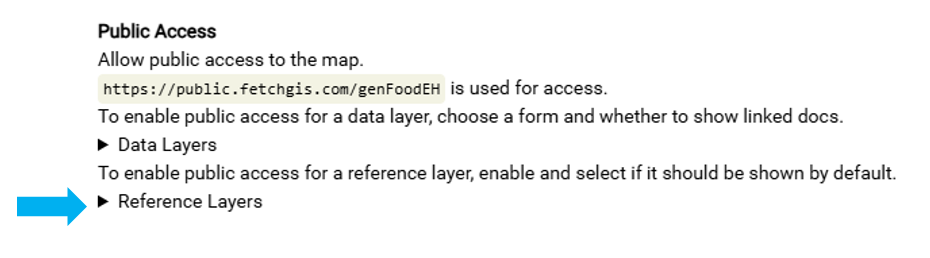
The URL should be used to configure a local link on your desired Health Department website.
Expand the Data Layers accordion.
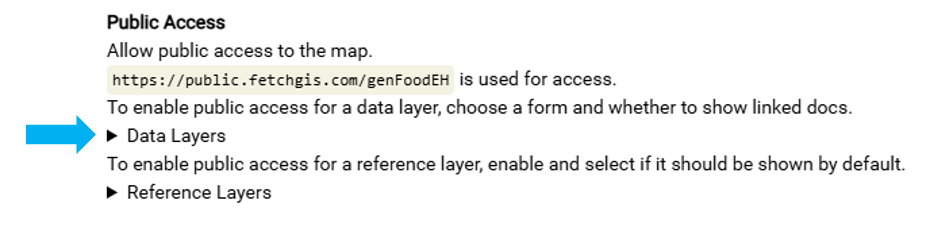
These are the Data Layers that are available to use in the ‘Public Access’ map.
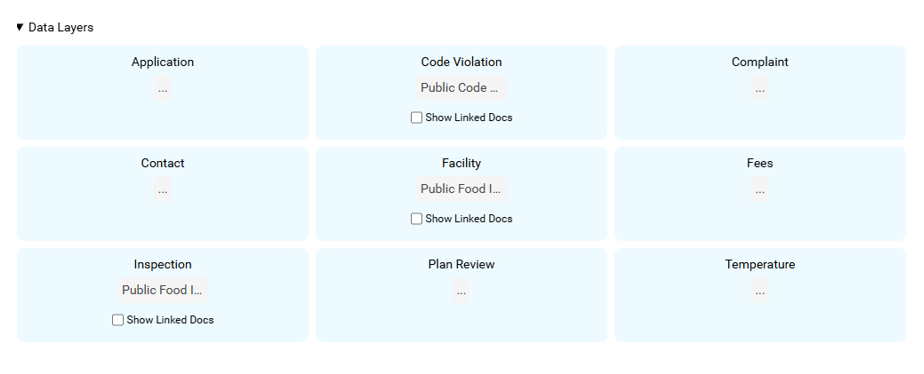
Data Layers with the 3 dots icon indicate that no form has been selected and that Data Layer will not be displayed to the public.
Only Data Layers with forms selected will be visible on the public facing map
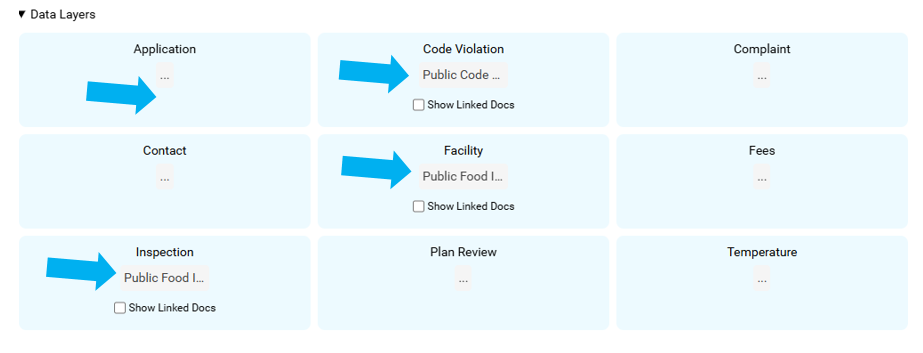
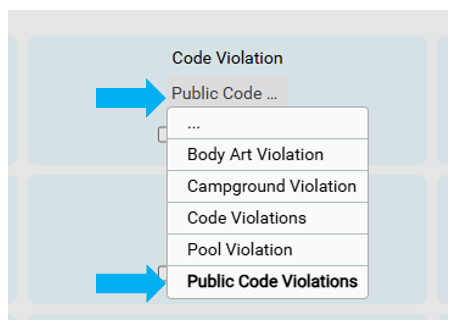
Select the Form to be used for ‘Public Access’ using the menu under the Data Layer name.
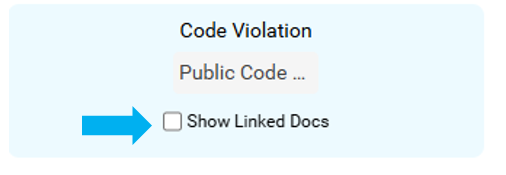
Toggle on the ‘Show Linked Docs’ option to make the Linked Docs for the Data Layer visible on the Public Map.
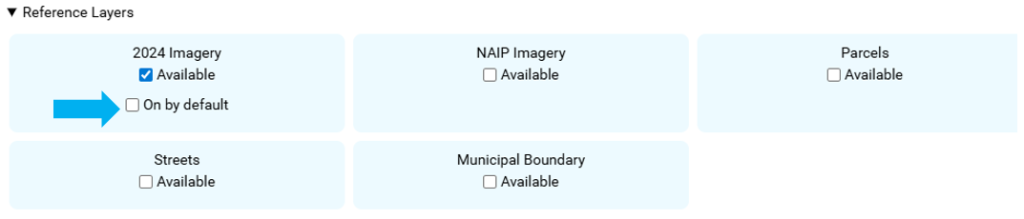
Expand the Reference Layers accordion.
To enable public access for a Reference Layer, toggle on the ‘Available’ box.
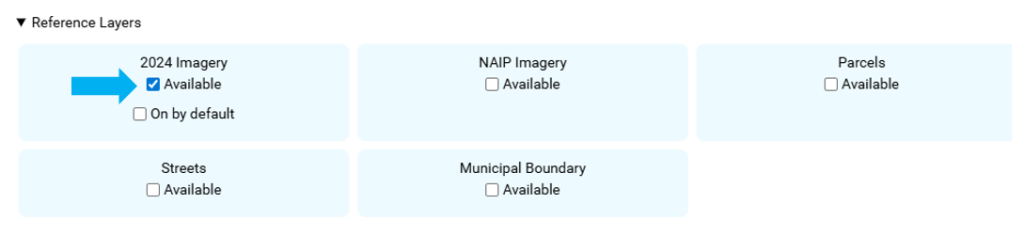
To have a layer visible automatically when the user opens the map, toggle on the ‘On by default’ box.
Select the Save button in the bottom right corner.
Copy the URL into a browser to test the public map.